Val Saint Lambert Paperweight Page 5
Click on image for a more detailed photograph
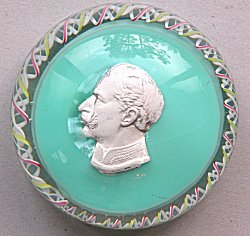
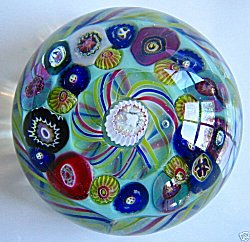
Photo: Eddy Schoofs
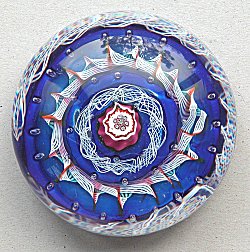
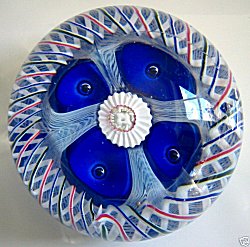
Photo: © Peter Pommerencke
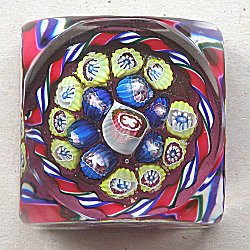
Photo: © Peter Pommerencke
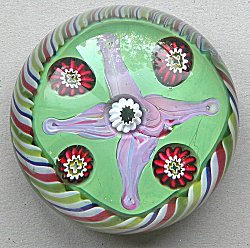
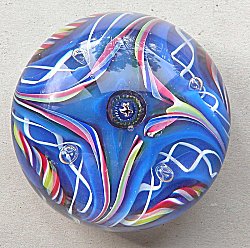
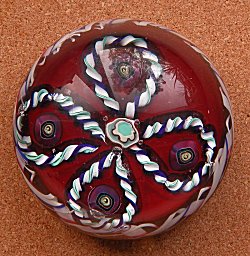
Photo: Suzanne & Tony Mace
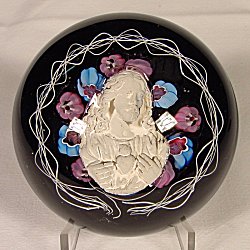
Photo: Suzanne & Tony Mace
Photo: Suzanne & Tony Mace
Photo: Suzanne & Tony Mace
Photo: Suzanne & Tony Mace
Photo: Suzanne & Tony Mace
Val St Lambert
Paperweights Page 1
Val St Lambert
Paperweights Page 2
Val St Lambert
Paperweights Page 3
Val St Lambert
Paperweights Page 4
Val St Lambert
Paperweights Page 6